What is Pad Printing?
Pad printing process is also known as tampon printing or Tampografía. This type of printing process is used to transfer a two dimension (2-D) image onto a three dimension (3-D) object. A silicone pad transfers an image from a printing plate (cliché) onto the object or substrate. Tampon printing gained popularity in early 70s. This was due to development of silicone printing pad and tampon printing machines. This printing technology has gained popularity because of its ability to print irregular surfaces. As a result, engineers and printers world wide have embraced it. Today, pad printing is used to print many different types of applications and in almost all industries.
Pad printing is ideal for printing on objects that are impossible to print using other printing methods (inkjet printing, screen printing, hot stamping). Typical tampon printing applications include:
- Irregular shapes and surfaces
- High speed printing on complicated substrates
- Fine detailed images
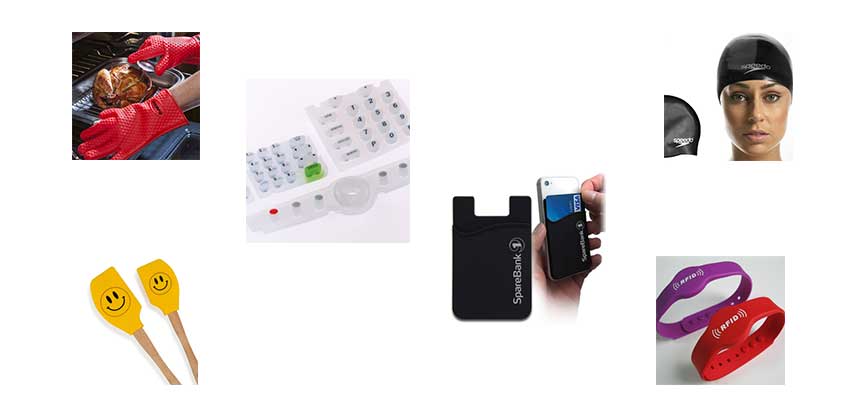
Examples of daily used items include computer keyboards, glasses, promotional products, toys, watch faces, pens, bulbs, tag-less garments, catheters, syringes, etc.
Advantages of Pad Printing
The main advantage of pad printing is its ability to print onto many odd shaped surfaces. Compare this to other printing methods such as screen printing or inkjet printing. Both Inkjet and screen printing are limited to printing flat and/or round surfaces only (such as screen printing).
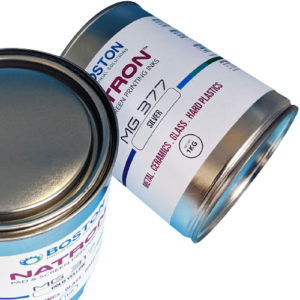
Almost all types of substrates can be pad printed. This includes; plastic, glass, metal, coated substrates, ceramics, silicone rubber, pharmaceuticals, foods, garments, foot-ware, etc.
The Printing Systems
Pad printing is an indirect offset (or a gravure) printing process, where an image is transferred via a soft silicone pad onto the surface to be printed.
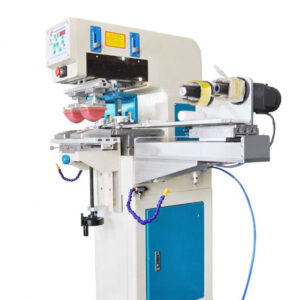
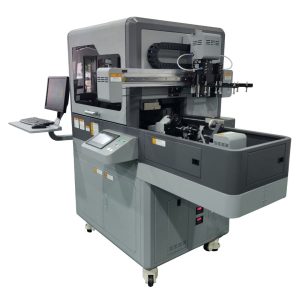
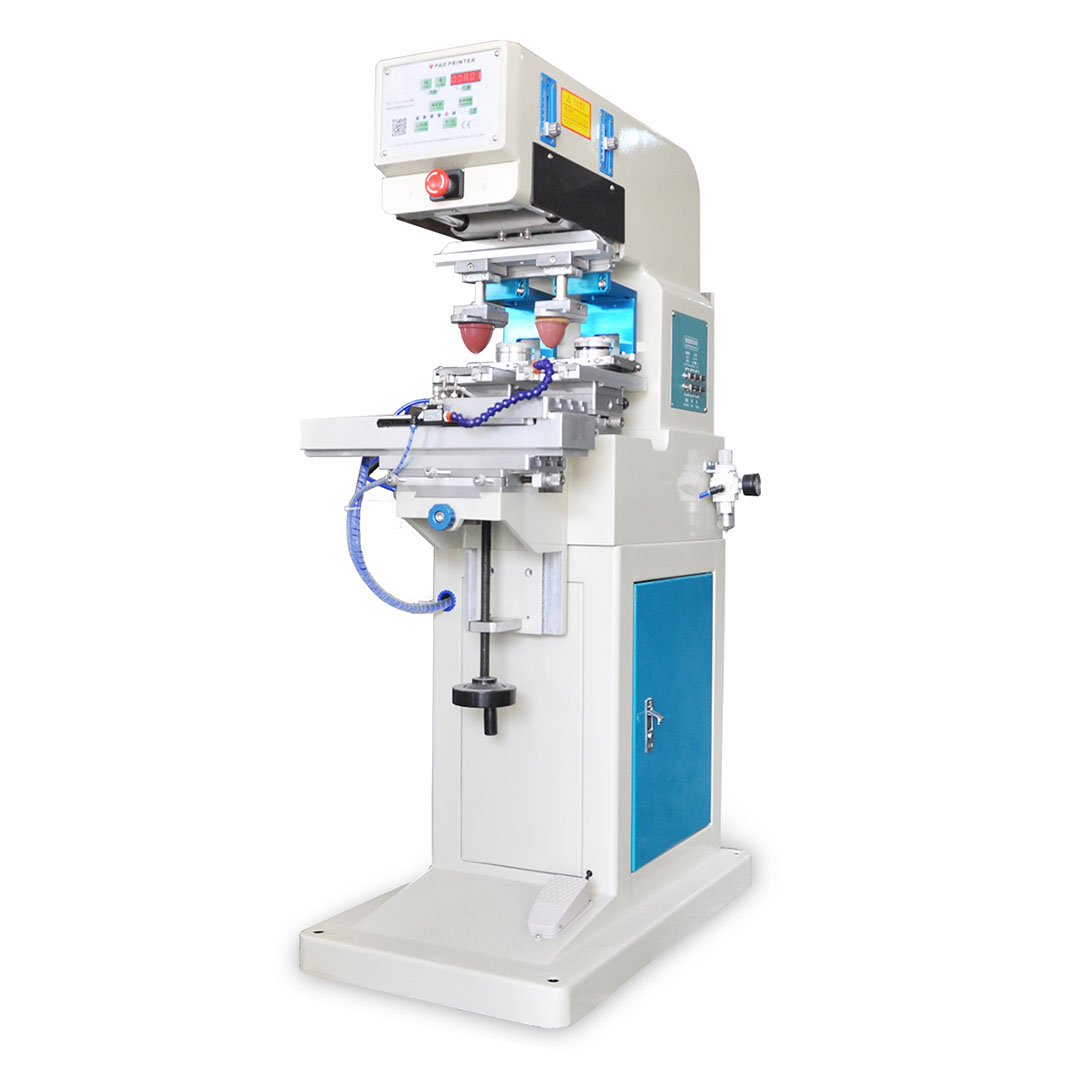
Today, there are two types of machines for printing. These are open ink well machines and sealed ink cup machines. Ink cups machine technology is the newest most common.
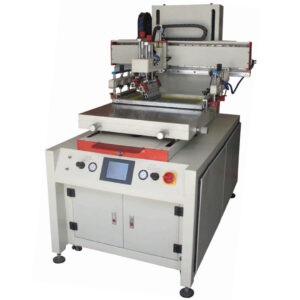
Open inkwell equipment use an ink trough (well) for the ink supply. This is where the name open ink well comes from. This ink trough is located behind the printing plate.
To print, a flood bar pushes the ink over the plate. Then, and a doctoring blade removes the ink from the plate surface. The only ink left is on the etched artwork on the plate. The printing pad picks up the ink.
Sealed ink cup machines have a container similar to a cup. The “cup” unlike the open inkwell acts as the ink supply, flood bar and doctor blade. Three in one system. On the cup, there is a ceramic ring. This ring is highly polished and provides a tight seal against the printing plate.
Image Transfer system
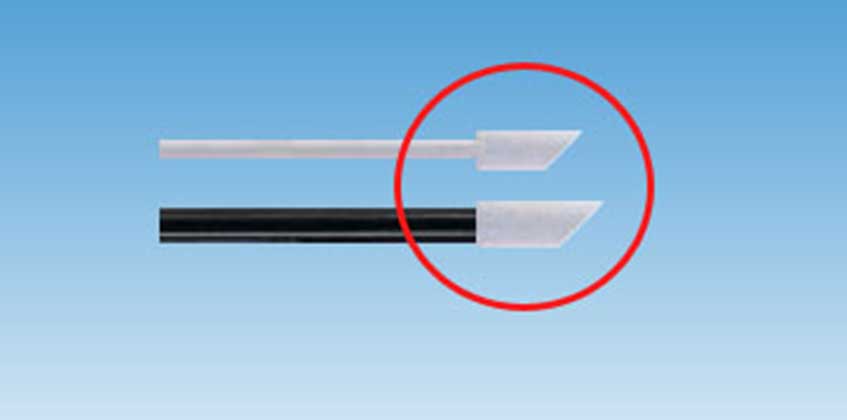
Printing pads are an integral part for the pad printing process. Most printing pads are made of silicone rubber. Pads act as the image transfer agent in Tampografía printing. They pick up the ink from the printing plate, and transfer it to the object (substrate). Pads come in many shapes depending on the printing application.
There are two categories of printing pads. These are round pads and rectangular pads. However, pads come in many other shapes, such as loaf pads and sizes e.g. large, medium and small pads.
Pad Printing Plate Types – Image holder
To pad print on any product, you need an image. The desired image is etched on the printing plate surface. The etched image cavity holds the ink. It is this ink that the printing pad picks this ink as a film and transfers it to the part.
Today there are three main types of printing plates. These are photopolymer plates, steel plates, and laser plates.
Photopolymer plates are the original printing process. They became popular because they were easy to use and fairly inexpensive. This type of printing plate is for short and medium volume production runs. Laser plates are currently replacing photopolymer plates. To etch an image on a photopolymer plate, you need chemicals. This process is mostly an art; it is a trial and error method.
Laser plates are either made of steel or aluminum. Steel plates have a special coating while the aluminum based plates are anodized. To create an image, you etch onto this coating with a laser. This process is also known as computer to plate etching. Both Photopolymer plates and laser plates have a production life of 10,000 to 70,000.
Steel plates are available as thin steel and thick steel plates. Thin steel are for medium to long run printing while thick steel are for extra long runs. Steel plates life expectancy is 700,000 to 1,000,000 or more imprints. Etching of both steel plates require specialized equipment.
Plate Depth
The printing plates depth will vary, between .0006″ to .0017″. The most common etch depths range from .001″ to .0012″ (24 to 28 microns). Things that affect ink lay down are the plate type, etch depth, shape and the hardness of the silicone pad.
Printing ink
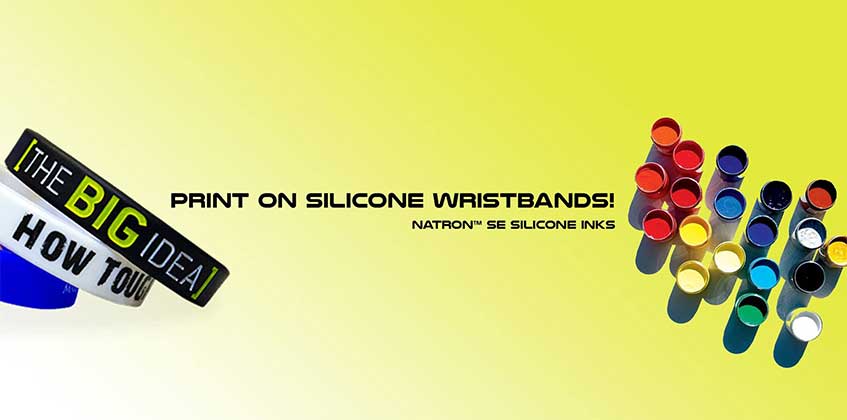
The ink is what marks or decorates the part. Each type of substrate requires a specific type of printing ink. For example, silicone ink will only adhere to silicone rubber. Metal pad printing ink will adhere to metal products. Pad printing inks formulated for plastics will adhere onto plastics. Thus, knowing the ink chemical composition is the key to successfully printing on to a part.
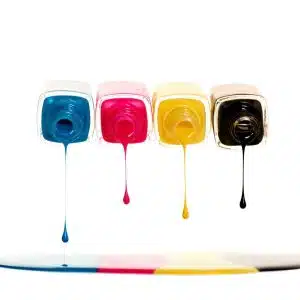
There are solvent based inks and ultra violet (UV) inks.
Solvent based printing ink requires mixing the ink with ink additives before printing. This is because the inks are solvent based. Examples of additives are hardener (catalyst), solvent, and adhesion promoters. Some solvent inks are one component inks while others are two component inks. One component printing inks doe not require a hardener for printing. Two component inks need a hardener for printing. Two component inks have a short pot life. Pot life in layman language is the useful life of mixed ink. This is different from shelf life. Life of an unopened ink.
UV pad printing inks cure using ultra violet light. The UV ink advantages are very fast curing time, long pot file, and forgiving. You can wipe the UV ink off the part easily. This is good for correcting errors.
Pad printing inks must have excellent release characteristics from the silicone pad. This is what enables the ink to transfer from the silicone printing pad onto the part.
Ink transfer
Ink adhesive tendency to the substrate must be stronger than the adhesion of the ink to the silicone pad. This is what enables the ink to transfer from the pad to the substrate (part). As a result, it is important to select the right solvent for printing.
Tampografia (pad printing) solvents
Solvents aid in transfer of the ink film onto the part. There are fast, medium and slow solvents. The speeds depict the rate of evaporation.
A fast evaporating solvent will dry in the etch. This will interfere with the silicone pad picking up the ink. If the solvent is too slow , the ink becomes tacky on the plate and the silicone printing pad. This will result in poor and inconsistent imprints.
Knowing solvent speeds enables printers to adjust printing inks drying characteristics. This will result to excellent prints.
Solvents also play a key role in creating and maintaining ink viscosity. It is important to maintain perfect viscosity during the printing process. Too much solvent will create opacity problems. Insufficient solvent may create static issues.
Things that affect pad printing
Climatic conditions will affect how printing ink dries. Open inkwell machines are prone to climatic conditions. Very dry conditions will cause the solvent to evaporate very fast. High humidity will lead to slow solvent evaporation. It is important to be aware of the impact of climatic conditions to pad printing. To solve these problems alter the solvent to achieve the ideal printing viscosity.
The Pad Printing Process
Now that have a grasp of the printing components, we can now cover the pad printing process.
- Home position – the ink cup containing printing ink sits over the artwork. At this position the cup is covering the image and filling it with ink. For open ink well machines, a doctoring blade acts as the cup. The blade moves from the ink well forward to flood the image with ink. Then backwards to remove excess ink.
- The ink cup moves back from the etched artwork area. This takes the all excess ink and exposes the etched image. Note that the image has ink. Exposing the ink makes it tacky. This is how the ink adheres to the transfer silicone pad and later to the substrate.
- The transfer pad moves downwards and presses onto the printing plate.
- The silicone printing pad lifts up. Then the tacky ink film gets picked up by the pad.
- The pad moves forward and so does the cup. The ink cup moves back to the home position to cover the etched artwork area on the printing plate. The imaged gets fill with ink. This preparation is for the next cycle.
- The printing pad compresses down onto the part, transferring the ink layer. Then, it lifts off the object and returns to the home position, thus completing one print cycle.