


How to Make Photopolymer Plates
One of the key factors to pad printing a perfect image is having a well-made printing plate. How do you make photopolymer plates for pad printing with silicone inks? We’ll discuss this on this article.
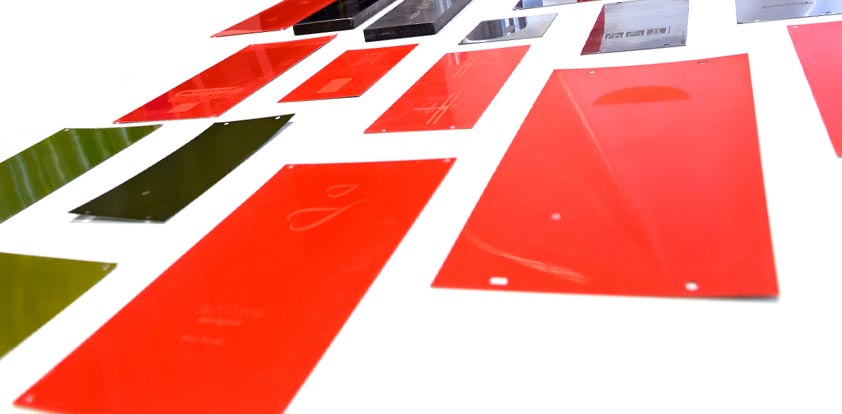
A photopolymer plates is also known as a cliché. A polymer plate is type of printing plate with a photosensitive coating. This coating changes in chemical composition when exposed to ultraviolet light (UV). The printing plate holds the etch (image). The image then is transferred to the substrate using a printing pad (printing tampon).
There are three options for making an etch on a plate:
- Outsourcing plate making: This option is ideal for startups and companies using thick steel plates with same image.
- Laser etching: Here the printer has two options. These are to use CO2 laser plate etching or Yag laser etching. The main difference is in speed, cost, flexibility, detail, and clean up. We’ll cover this on a different article later.
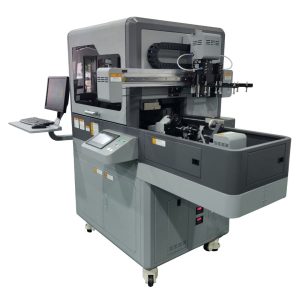
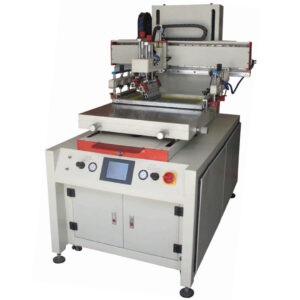
- Exposure unit: This is the traditional method of making plates. In this article, we’ll cover how to make photopolymer plates that you can use to pad print silicone ink.
To create an image on the plate, use a film positive with the image. This is for the first exposure. The film positive blocks the UV light. After the wash out of the plate, a second exposure is done to create the depth of the etch.
Factors that affect photopolymer plate depth:
- Type of plate material
- Line screen density
- Exposure time
To create a “dot patterns” or “walls”, use a line screen for the second exposure. Exposure through the line screen allows a controlled amount of light through the clear holes of the screen. This will “cure or harden” the image area that was previously protected from the UV light during the first exposure.
Line screens vary in lines and percentages. For example 80L90% vs 120L90%. The 80L90% screen will etch deeper than the 120L90%. Therefore, when printing on products like textiles, parts with a textured surface or when printing a lighter color ink on a darker color part we recommend the 80L90% screen.
In summary
- Remove the cover film and place a negative film on the undeveloped plate.
- Expose the plate through the negative film to UV light.
- Remove the negative film.
- Washout the exposed plate with water or alcohol (depending on your plate type).
- Dry the plate in a hot-air dryer after taking off the surface water with a sponge roll. Drying time depends on the type of plate.
- Expose the developed plate after drying again to UV light in order to get stability.